Pages

Showing posts with label the girl with wanderlust. Show all posts

Friday, May 6, 2011

Happy Mother's Day!


To all the moms out there - may you have a wonderfully blessed Mother's Day weekend!  

Thursday, May 5, 2011

Adventures in Organizing: closet revamp

This past weekend, my hubby and I took on the huge task of cleaning out our closet.   I've recently become obsessed with Megan's blog over at Honey We're Home, and her closet was the kick-in-the-butt I needed.  If you haven't seen Megan's closet, check it out...  It's absolutely stunning!

While my closet isn't as grand as Megan's, I still wanted to try to get a little more organized.  I desperately needed to get rid of things I no longer wore.  We started by taking EVERYTHING out of the closet.  Next, we cleaned the closet from top to bottom.  Fun.

With a fresh start, we started on hubby's side first.  He went through all of his stuff and picked out what he actually wears.  We organized his pants, dress shirts, and tees.  Here's a picture of his dress shirts and ties after we were finished sorting his things.


Then came the daunting task of going through my clothes.  Seeing all of my clothes piled high on my bed and surrounding areas made me realize just how much I had.  And I certainly didn't wear them all!  I started with my shoes.  Oh my goodness, I had tons of shoes I never wear!  I think when I got done going through them, I had about 3 big boxes full of shoes to get rid of!  I put my shoes and accessories back in the closet, and moved on to shorts, shirts, dresses, and sweaters.  


I used felt hangers for my sweaters, and draped them so the notches on the hangers don't leave their little bumps.  Thank you to Megan for that tip!  


The hardest part for me was deciding which pants to get rid of.  I went through and tried on every pair and had my husband take pictures from the front and the back.  Amazing what you see in a picture that you don't in a mirror!  I hung my jeans and pants on children's felt hangers - again, thanks Megan!  :)


Now I was in the home stretch.  I went through lingerie, athletic clothes, etc.  They are stored in the baskets shown below.  I also have a shelf for hair products.


I'm so glad we did this closet revamp.  I feel so much better when I walk in and it's not cluttered!  Here's a few final pictures.  What do you think?


Saturday, April 23, 2011

CRAFT TIME: 3 tier diaper cake


I really enjoy making diaper cakes.  Every time I get a baby shower invite in the mail, my first thought is "yes!  Another diaper cake!".  This time, I thought I'd share the process with you guys!  These instructions are for a 3 tier cake.

Materials Needed:
  57 diapers, size 2
  Rubber bands, assorted sizes
  Glue gun
  Wooden dowel rod
  14" cake round
  Ribbon and decorations


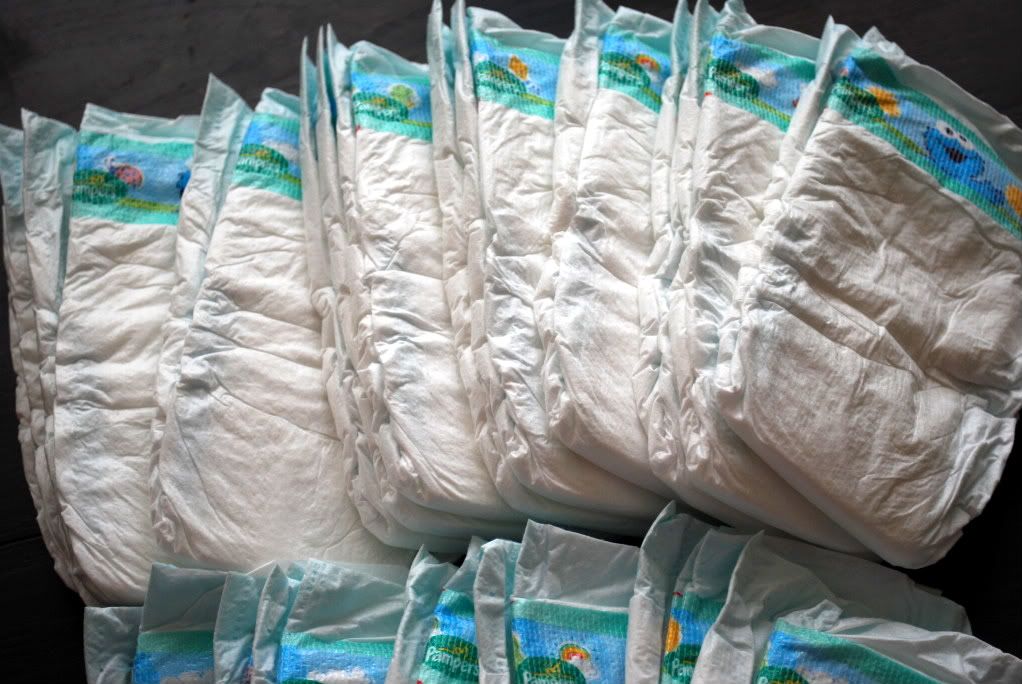
Step 1.  Get those diapers ready!  I use size 2 Pampers, but you can use whatever brand you want.  Size 2 is a good size for the height of the cake..any smaller is really too little.  Take each diaper and roll it up (with the design on the inside) and secure with a rubber band.  Do this until you have 57 rolled diapers.


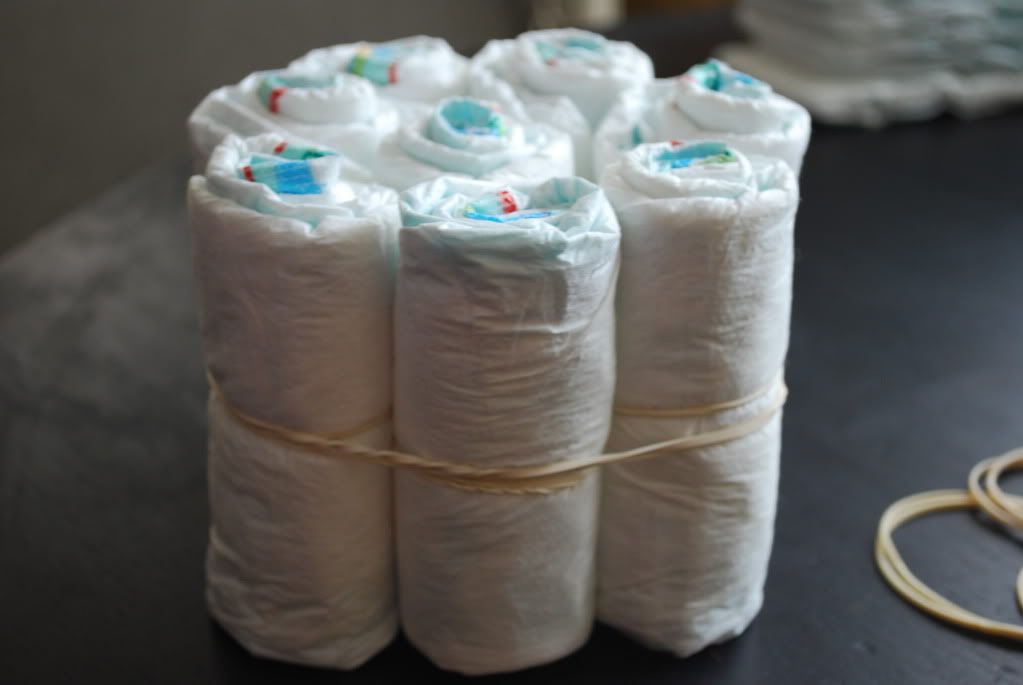
Step 2.  Make your layers.  For the top layer you will need 8 diapers.  Put 1 in the middle, and 7 around it.  Wrap with a rubber band.  


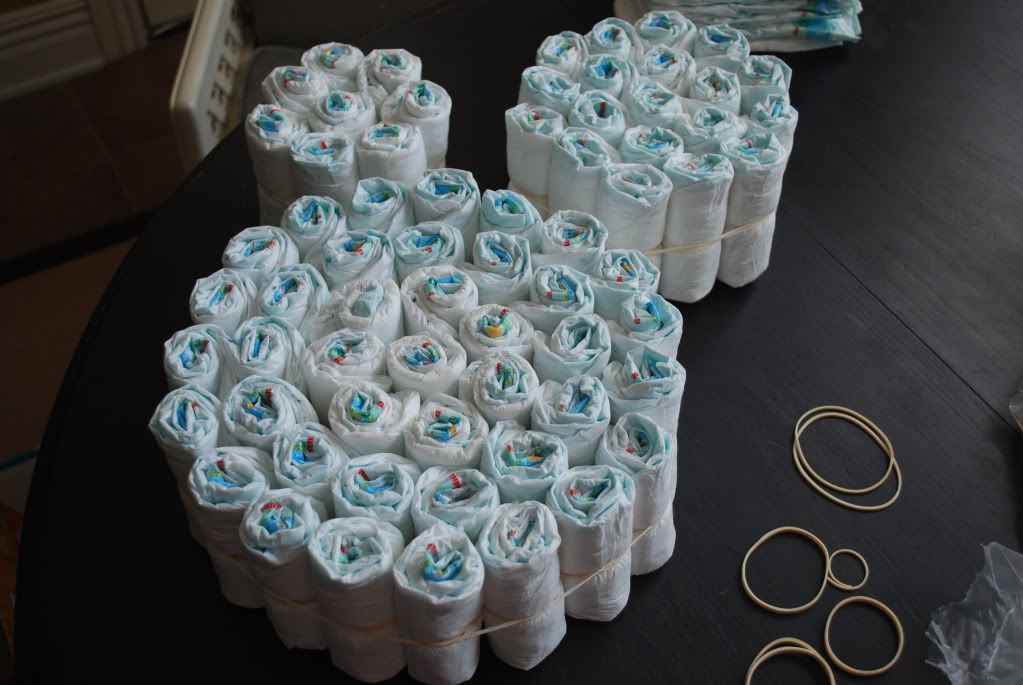
You'll need 19 diapers for the middle layer.  Put 7 diapers in the center (put a rubber band around the 7), then add 12 more around that.  Tip:  after you band your 7 center ones, put a couple of diapers around them and go ahead and put a large band around that...that way you just stick the diapers in the rubber band.  Much easier than putting a rubber band on after you have all 19.

For the bottom layer you need 30 diapers.  Make a center with 8 diapers (rubber band around it), put 13 more around that (another rubber band), then put 19 around that section (biiiig rubber band around the whole thing).  


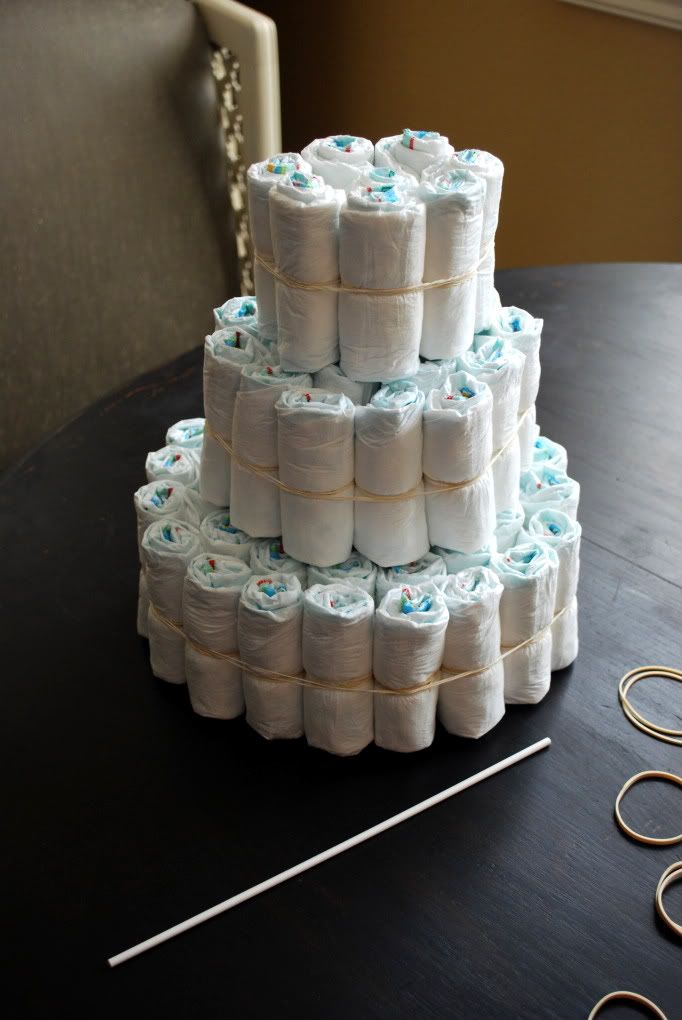
Step 3.  Stack the layers on top of each other, then insert your wooden dowel rod in the middle.  Make sure it doesn't stick out the top of the cake!  


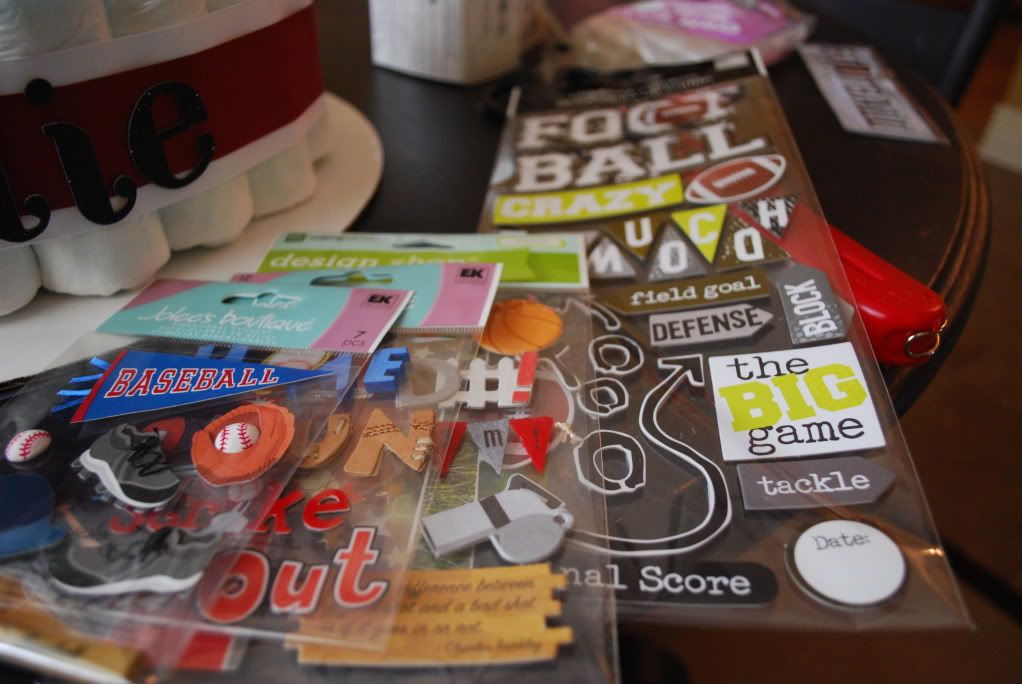
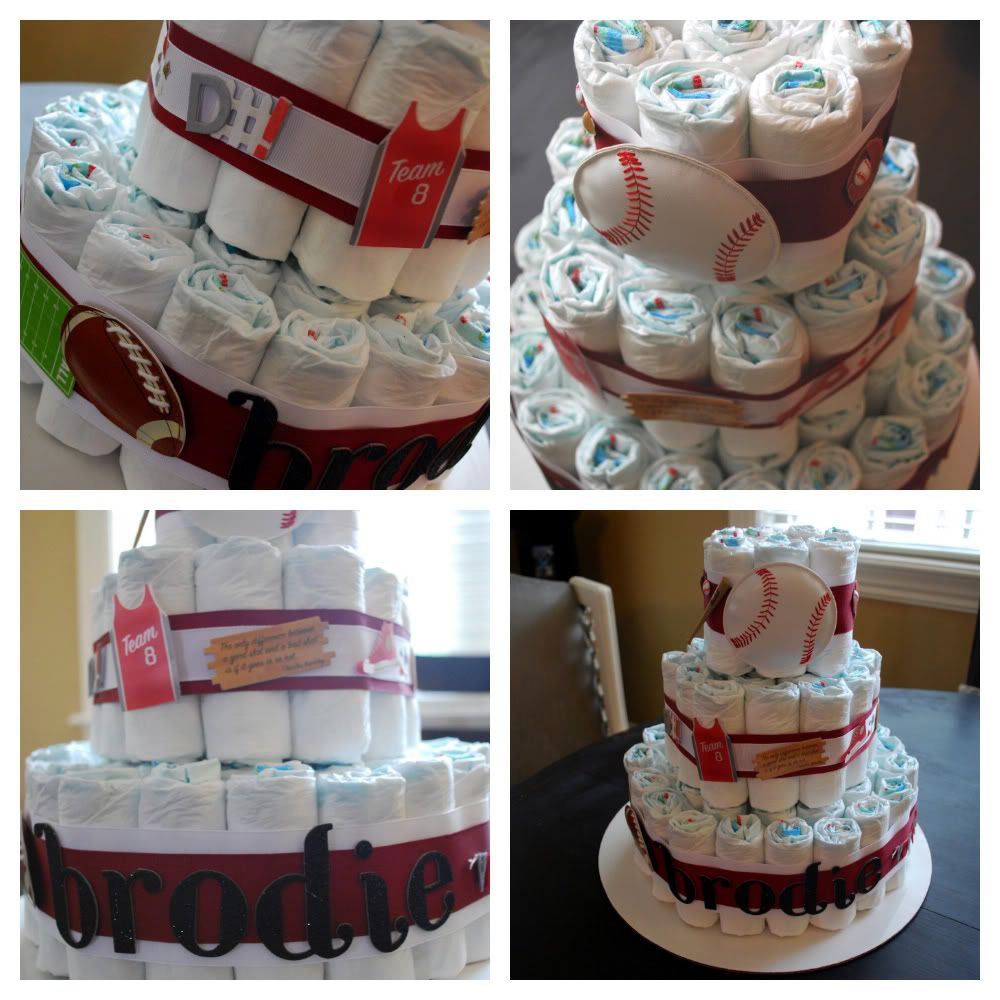
Step 4.  Time to decorate!  Decide on a color scheme or a theme, and pick out ribbon accordingly.  On this cake, I used crimson and white ribbon because this cake is for a friend of mine whose nursery is decorated in an OU sports theme.  I bought packs of sports themed scrapbooking elements for the decorations.  


Once you decide how you want to do your ribbon, cut it to size and get your glue gun ready.  Tip:  use a lighter on the ends of your ribbon (careful not to let it catch fire!) to keep it from unraveling.  The key is to use a quick fluid motion - don't linger long with the lighter.  Wrap your ribbon around the cake, and glue one end of the ribbon down to the other end of the ribbon.  Don't glue it to the diapers - that ruins the whole point of the cake!  :)


After you've got your ribbon on all the layers, decorate to your heart's content!  Chipboard is great for doing a name or initials, but if you don't want to spend the money on chipboard, cut your letters out of heavy cardstock paper.  I just peel the back off of the things I want to use and stick it to the ribbon.  If you stick it on the diapers, it may ruin the diaper.  

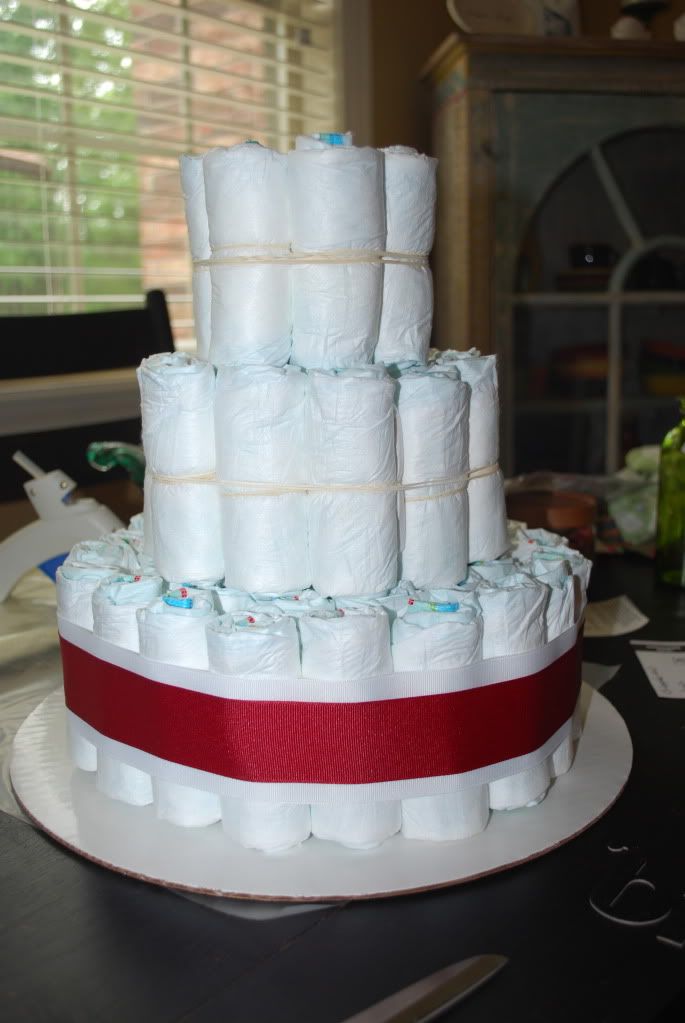
Step 4.  Put your cake on your cake round and admire!  

Here's my cake all finished!


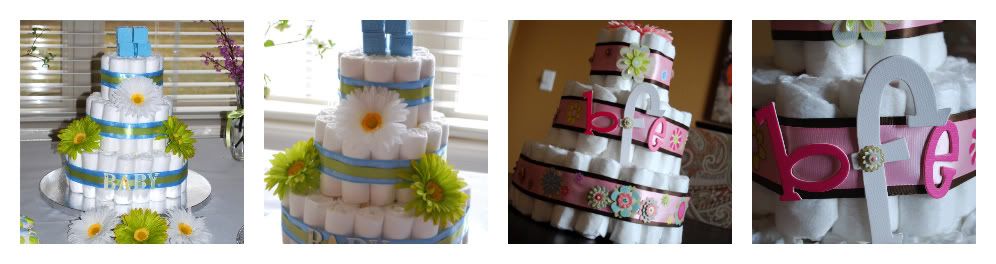
Here are a couple of my past cakes I've done.  I'm especially proud of the pink one.  I almost wanted to keep that one... ;)  I love using those flowers on the cakes.  You can buy them at Michael's in the floral section.  They even make some that have clips on the back!  


Let me know if you have any questions!  Suggestions are always welcome too!  

Wednesday, April 13, 2011

Mud Pie is at Wanderlust!!!

I'm so excited to have added the Mud Pie brand to Wanderlust Home & Gifts!  If you aren't familiar with Mud Pie, you'll love it soon!  I'll be adding a little bit now, and a little bit later.  First up is women's boxers, a cute necklace, and a gorgeous fish platter. 


Aren't they cute?!

On another note, I had my first order from out-of-state last week!  Someone in Charleston, SC found me!  I was beyond excited.  And then, on Monday, I got an order from a woman in Oceanside, CA!  Needless to say, the fact that I got 2 out-of-state orders within a week has me jumping for joy!  After 3 months of hard work, I think it is starting to pay off!  The prayers probably don't hurt either... :)

If you like Wanderlust, please share the love!  Tell your friends and family, become a fan on Facebook, follow me on Twitter...whatever you want to do to support Wanderlust Home & Gifts! 


Thursday, April 7, 2011

doing the happy dance!

I'm so excited!  I got my first order from out of state last night!  A package will be on its way to Charleston, SC very soon!  I can't tell you how stoked I was when I saw the order!!! 

I have been so busy this week that I haven't had time to write this month's featured travel inspiration.  We're getting ready for a garage sale tomorrow, and it's been a lot of work!  Who knew I had so much stuff to sell?! 

Look for the post on travel inspiration:  St. Augustine, FL next week! 

xoxo,
Amy :)