I really enjoy making diaper cakes. Every time I get a baby shower invite in the mail, my first thought is "yes! Another diaper cake!". This time, I thought I'd share the process with you guys! These instructions are for a 3 tier cake.
Materials Needed:
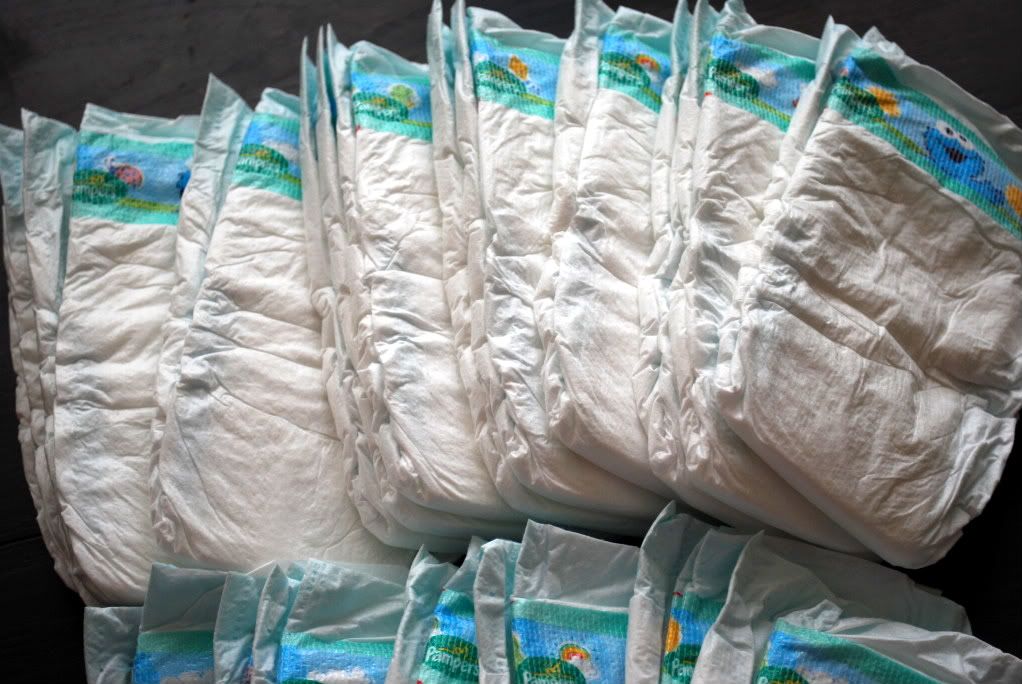
57 diapers, size 2
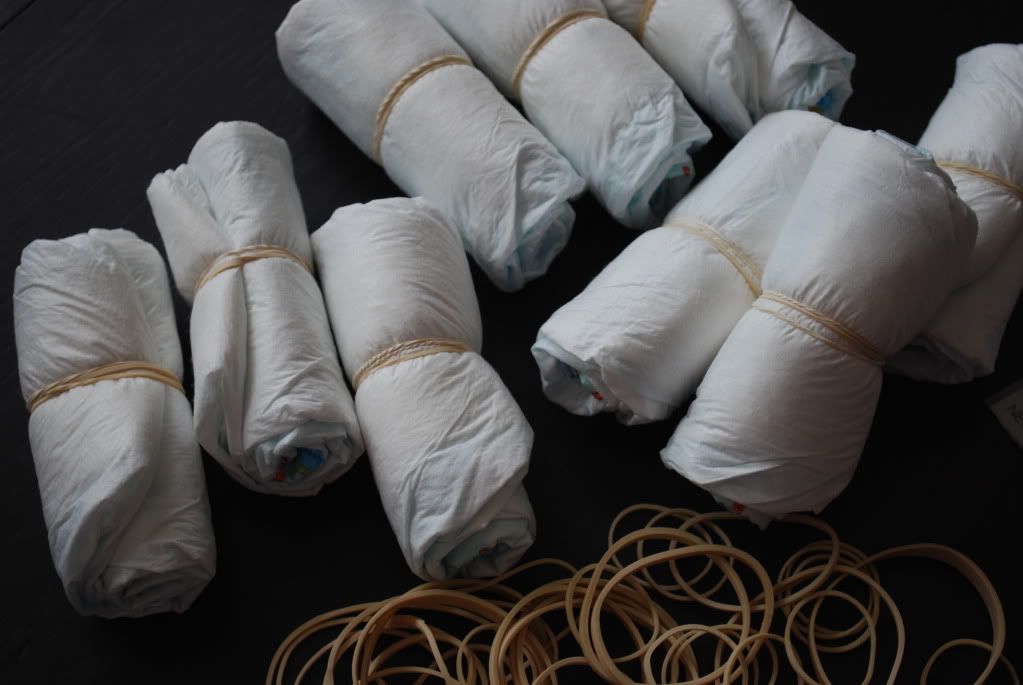
Rubber bands, assorted sizes
Glue gun
Wooden dowel rod
14" cake round
Ribbon and decorations
Step 1. Get those diapers ready! I use size 2 Pampers, but you can use whatever brand you want. Size 2 is a good size for the height of the cake..any smaller is really too little. Take each diaper and roll it up (with the design on the inside) and secure with a rubber band. Do this until you have 57 rolled diapers.
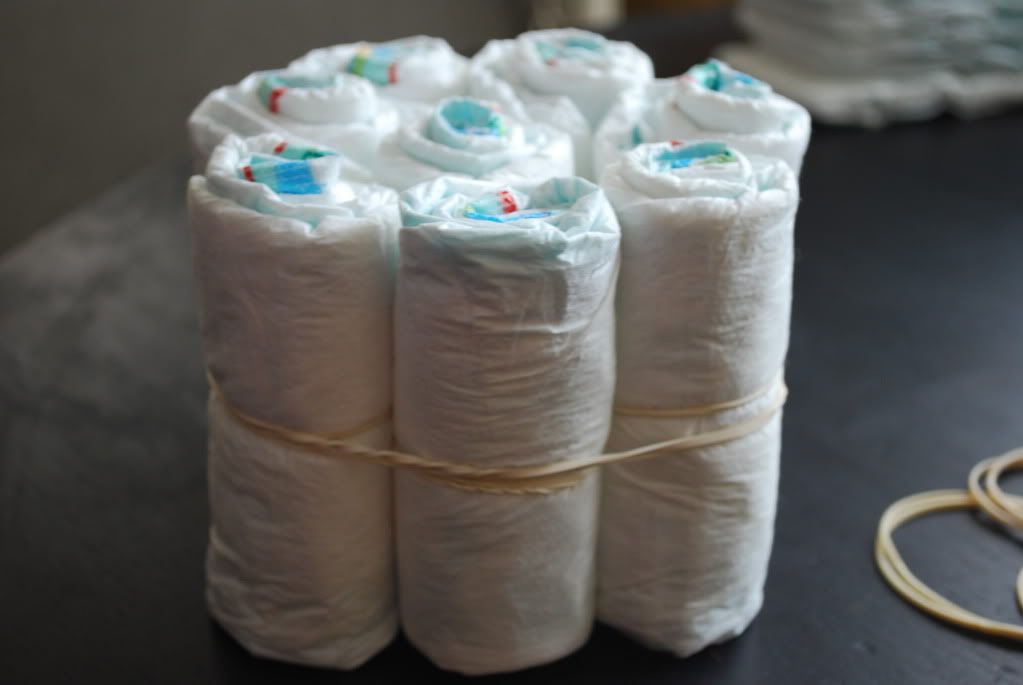
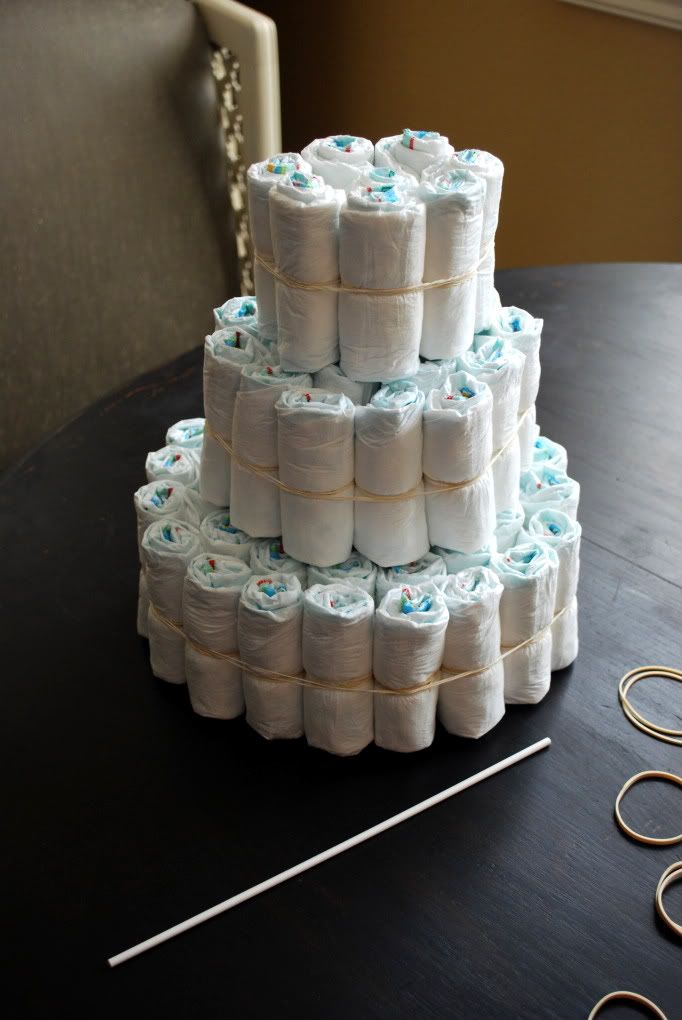
Step 2. Make your layers. For the top layer you will need 8 diapers. Put 1 in the middle, and 7 around it. Wrap with a rubber band.
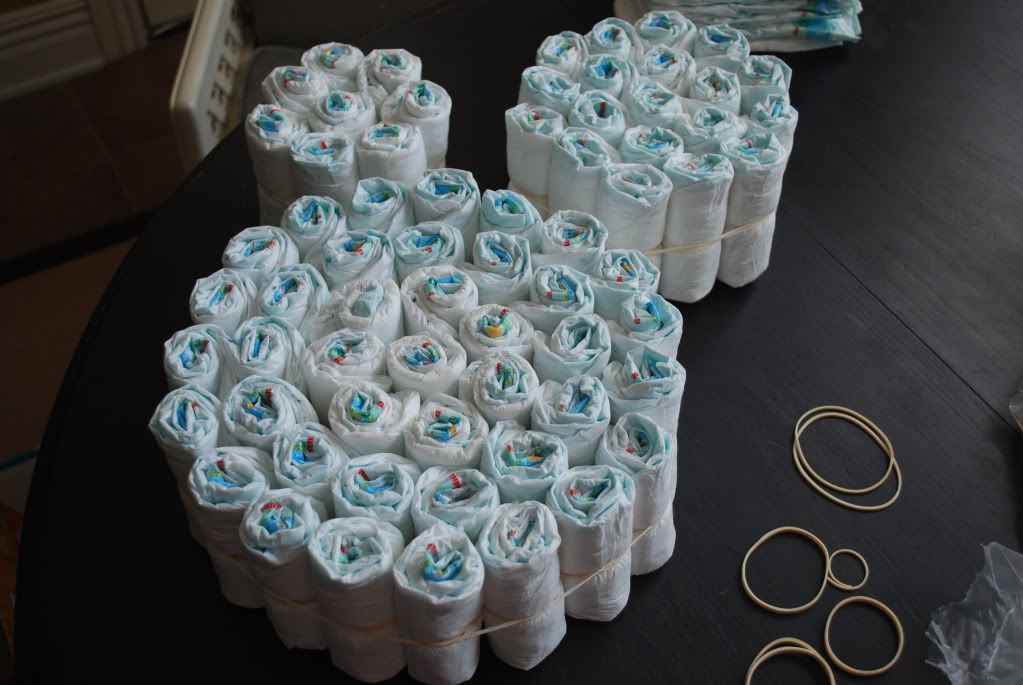
You'll need 19 diapers for the middle layer. Put 7 diapers in the center (put a rubber band around the 7), then add 12 more around that. Tip: after you band your 7 center ones, put a couple of diapers around them and go ahead and put a large band around that...that way you just stick the diapers in the rubber band. Much easier than putting a rubber band on after you have all 19.
For the bottom layer you need 30 diapers. Make a center with 8 diapers (rubber band around it), put 13 more around that (another rubber band), then put 19 around that section (biiiig rubber band around the whole thing).
Step 3. Stack the layers on top of each other, then insert your wooden dowel rod in the middle. Make sure it doesn't stick out the top of the cake!
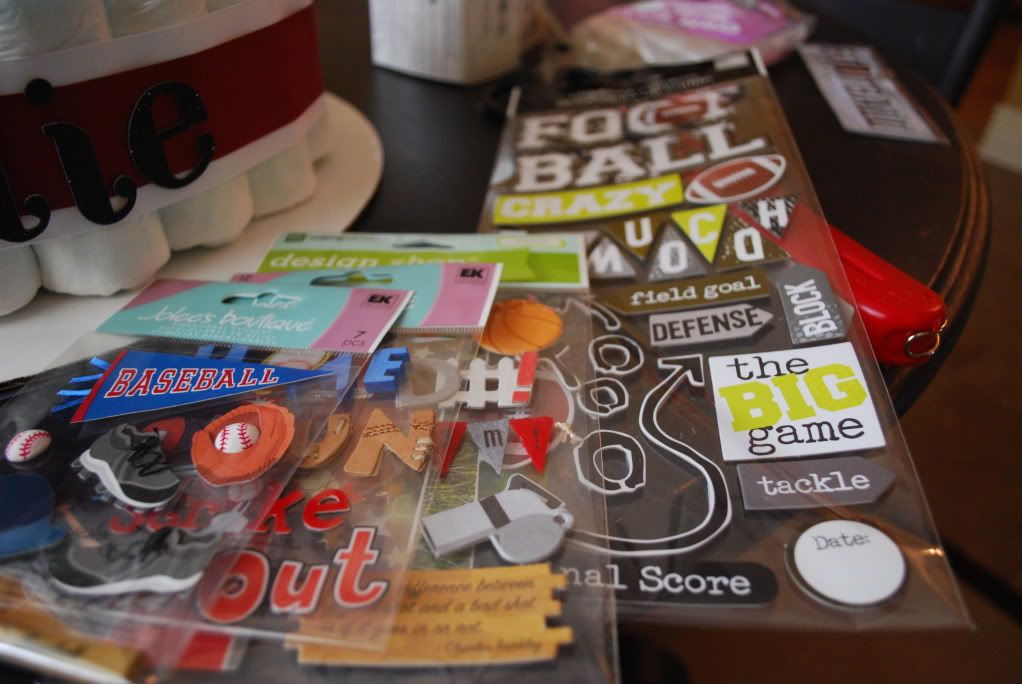
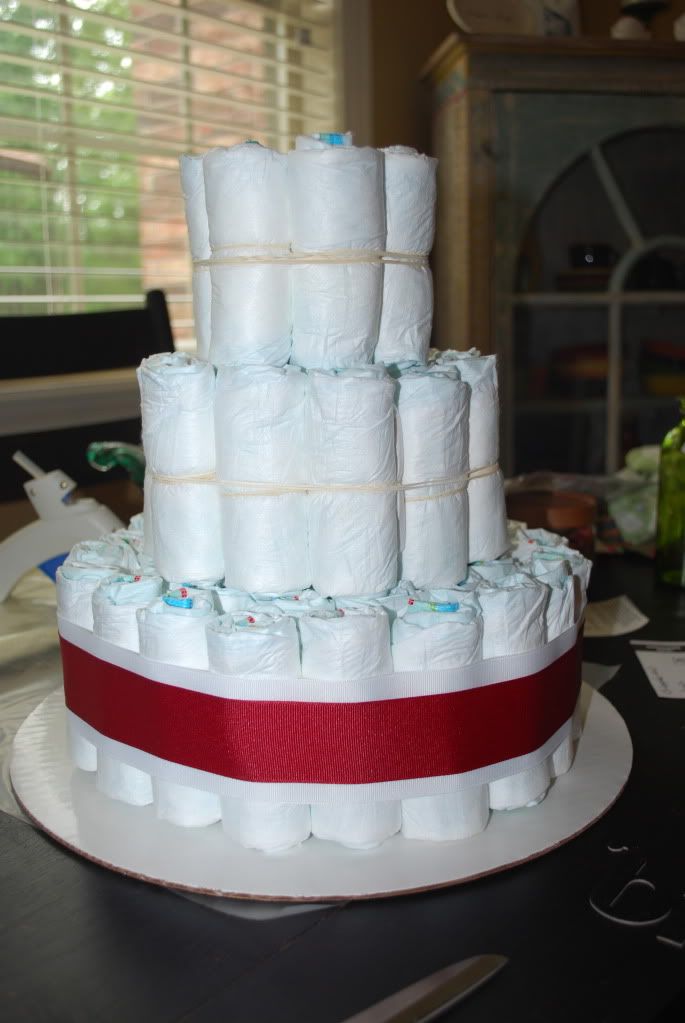
Step 4. Time to decorate! Decide on a color scheme or a theme, and pick out ribbon accordingly. On this cake, I used crimson and white ribbon because this cake is for a friend of mine whose nursery is decorated in an OU sports theme. I bought packs of sports themed scrapbooking elements for the decorations.
Once you decide how you want to do your ribbon, cut it to size and get your glue gun ready. Tip: use a lighter on the ends of your ribbon (careful not to let it catch fire!) to keep it from unraveling. The key is to use a quick fluid motion - don't linger long with the lighter. Wrap your ribbon around the cake, and glue one end of the ribbon down to the other end of the ribbon. Don't glue it to the diapers - that ruins the whole point of the cake! :)
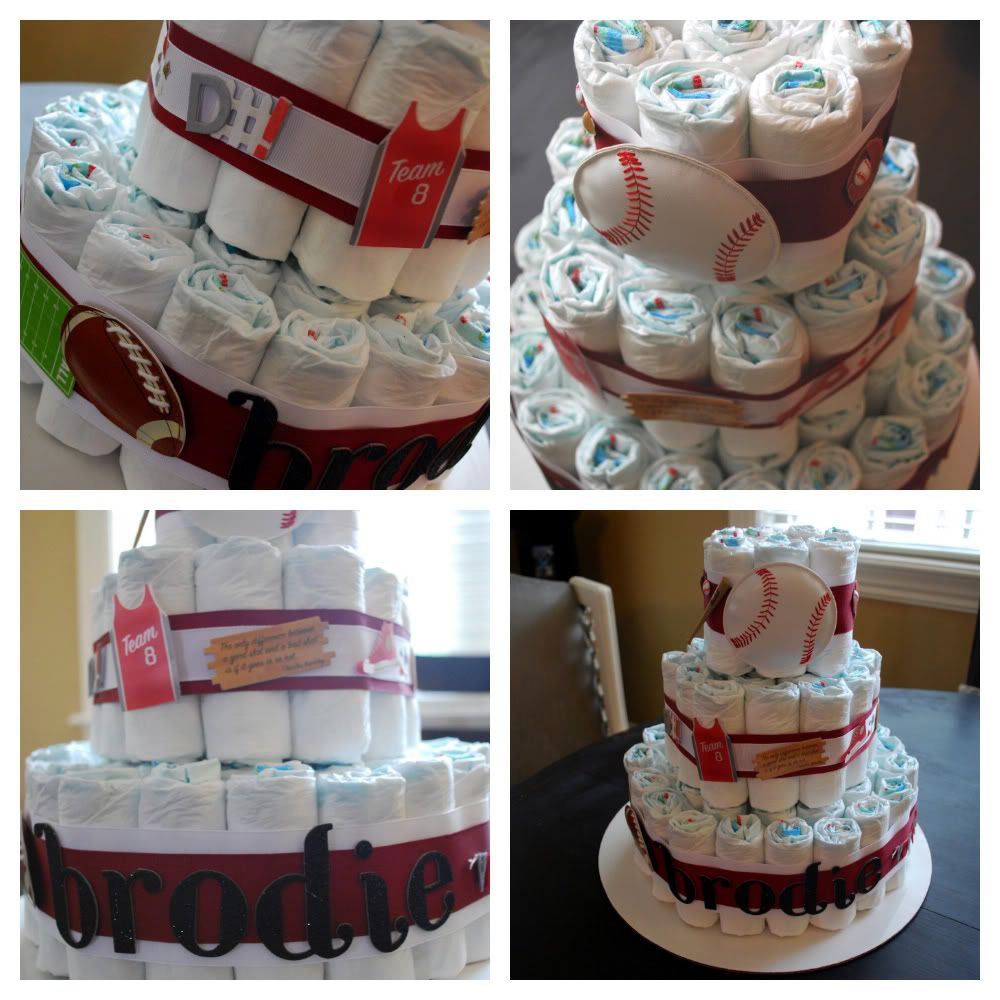
After you've got your ribbon on all the layers, decorate to your heart's content! Chipboard is great for doing a name or initials, but if you don't want to spend the money on chipboard, cut your letters out of heavy cardstock paper. I just peel the back off of the things I want to use and stick it to the ribbon. If you stick it on the diapers, it may ruin the diaper.
Step 4. Put your cake on your cake round and admire!
Here's my cake all finished!
Here are a couple of my past cakes I've done. I'm especially proud of the pink one. I almost wanted to keep that one... ;) I love using those flowers on the cakes. You can buy them at Michael's in the floral section. They even make some that have clips on the back!
Let me know if you have any questions! Suggestions are always welcome too!



No comments:
Post a Comment